NL / EN
  • Need some assistance with your Fabschoolino? We're here to help.

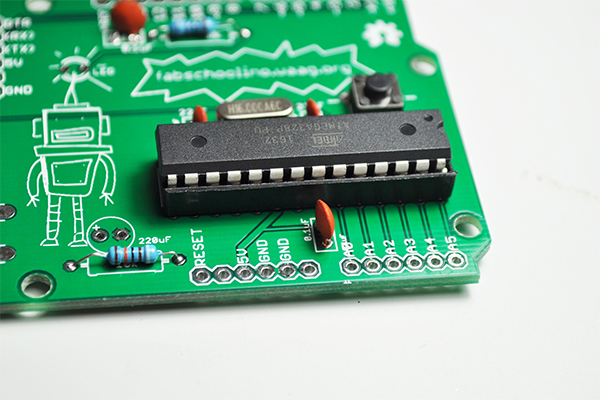
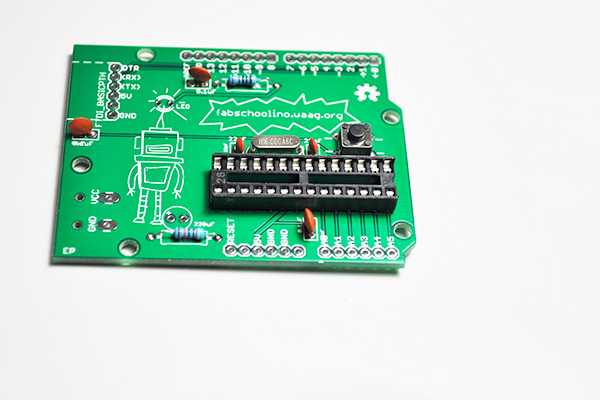
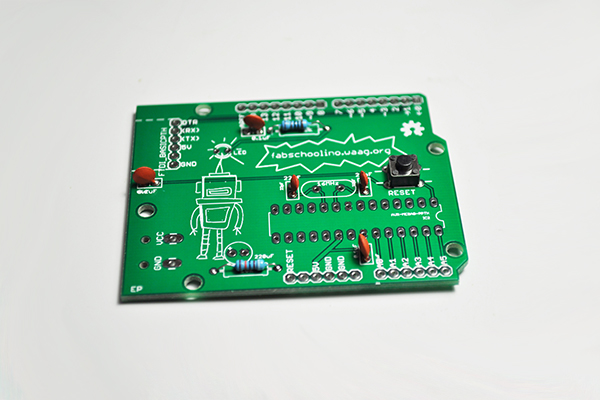
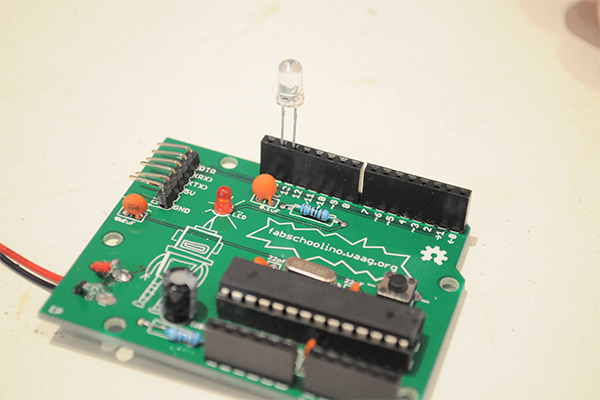
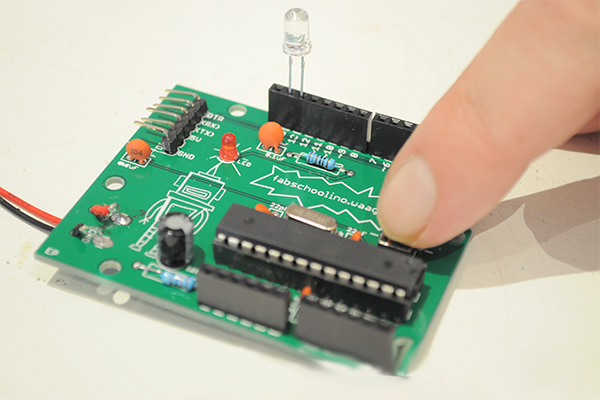
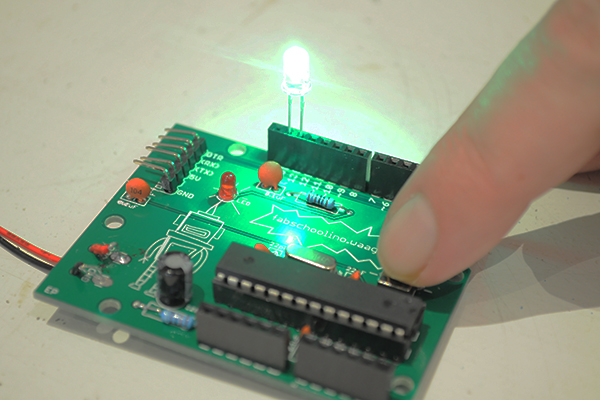
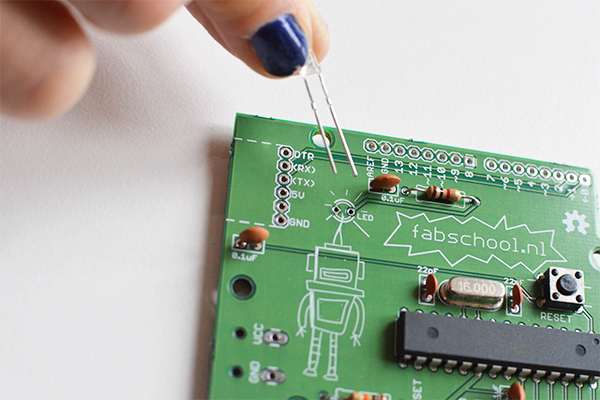
    If you have build the Fabschoolino and the LED flashes when you turn it on, great, it's working. But if it doesn't lets have a look what might be wrong. You're on the right page! We'll help you find out what the problem is step-by-step. Good luck!

1

Check the batteries.

  • 1

    Make sure the plus and minus sides of the batteries are aligned with the plus and minus signs in the battery pack.

  • 2

    In the picture above, you'll see how the batteries should be placed in the pack.

  • 3

    Install the batteries and turn the pack "on" to see if the LED lights up.

  • 4

    Does your LED still not light up? Time to take the batteries back out again.

  • 5

    Your batteries could be dead. Put in some fresh batteries and try again.

Have you gone through all these steps and your Fabschoolino still doesn't work?

Go to step 2.

2

Is the IC ok?

  • 1

    There should be a semicircle on the IC. If the semicircle looks the same as it is in the picture above, then the IC isn't installed correctly.

  • 2

    If the IC is not properly installed, you can remove it from the socket. You can just do this with your hands.

  • 3

    If the little pins on the IC are bent and skewed, make sure to carefully bend them back into place.

  • 4

    You can now place the IC back into the socket with the semicircle on the right side.

Have you gone through all these steps and your Fabschoolino still doesn't work?

Go to step 3.

3

Are the resistors in the right place?

  • 1

    Compare your Fabschoolino to the picture above to ensure that the resistors are in the right place.

  • 2

    If the resistors are not in the right place, turn your Fabschoolino over.

  • 3

    Press a hot soldering iron against the holes to loosen the resistors.

  • 4

    Remove the resistors and then put them in the right place.

  • 5

    Solder them in place again.

Have you gone through all these steps and your Fabschoolino still doesn't work?

Go to step 4.

4

Are the capacitors in the right place?

  • 1

    Compare your Fabschoolino to the picture above to ensure that the capacitors are in the right place.

  • 2

    If the capacitors are not in the right place, turn your Fabschoolino over.

  • 3

    Press a hot soldering iron against the holes to loosen capacitors..

  • 4

    Remove the capacitors and then put them in the right place.

  • 5

    Solder them in place again.

Have you gone through all these steps and your Fabschoolino still doesn't work?

Go to step 5.

5

Are there any pins soldered together?

  • 1

    Look carefully to check whether there are any pins soldered together.

  • 2

    If there are, remove the solder between the pins with a hot soldering iron.

Have you gone through all these steps and your Fabschoolino still doesn't work?

Go to step 6.

6

Are there any pins not soldered?

  • 1

    Look carefully to check whether there are any pins not soldered.

  • 2

    If there are, solder the unsoldered pin down with a hot soldering iron.

Have you gone through all these steps and your Fabschoolino still doesn't work?

Go to step 7.

7

Check that the LED is correctly installed.

  • 1

    Grab an extra LED out of your box for testing.

  • 2

    Insert the long pin of your test LED into Port 13 and the short into GND.

  • 3

    Turn on the battery pack.

  • 4

    Press the reset button.

  • 5

    If the test LED lights up, the LED you installed is not soldered correctly.

  • 6

    Turn off the battery pack and remove the additional test LED.

  • 7

    Turn the Fabschoolino over.

  • 8

    Press a hot soldering iron against the holes to loosen the LED.

  • 9

    Place your new LED where your old LED was.

  • 10

    Solder the LED in place and trim the legs.

Have you gone through all these steps and your Fabschoolino still doesn't work?

Feel free to contact us!

Contact us